
The “Small Leak” That Starts at a Roof-to-Wall Joint

Some of the most expensive roof repairs don’t start with dramatic storm damage or missing shingles. They start with a faint water stain. A slightly damp corner of drywall. A musty smell that comes and goes.
More often than homeowners realize, these “mystery leaks” trace back to one overlooked detail: the roof-to-wall joint, and specifically, step flashing that has failed, shifted or was never installed correctly in the first place.
What Is a Roof-to-Wall Joint?
A roof-to-wall joint is where a sloped roof meets a vertical surface, like:
- The side wall of a second story
- A dormer
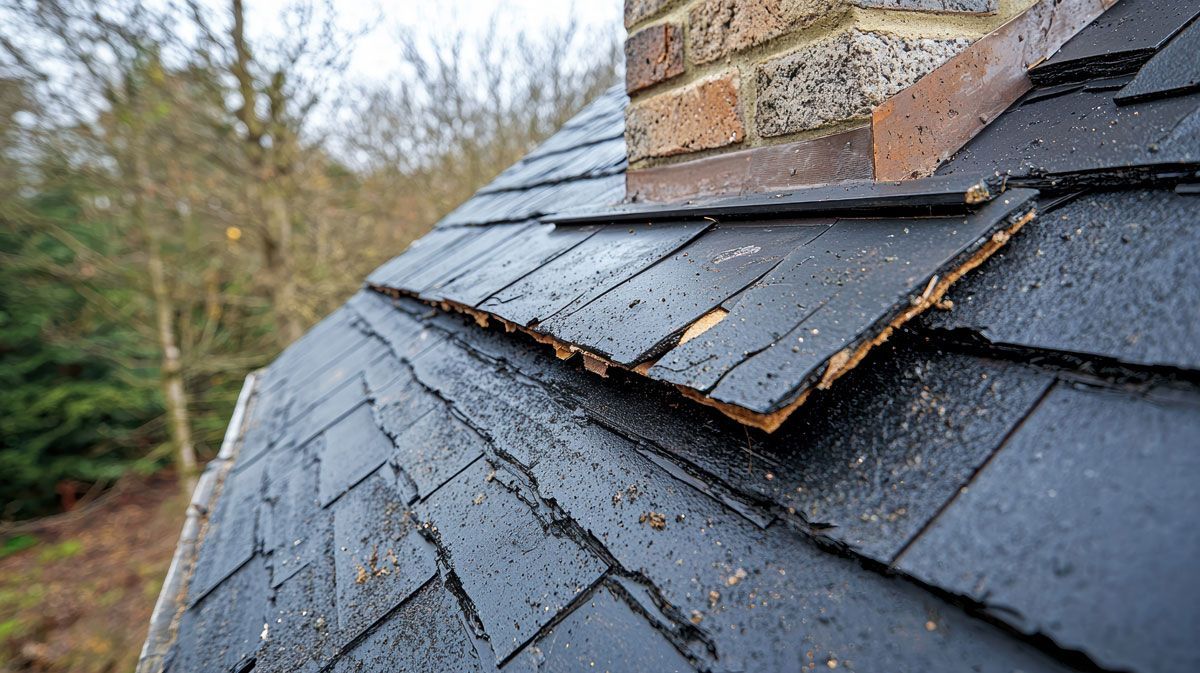
- A chimney
- An addition that ties into the main roof
Water management is critical at every point where roofing materials meet siding or masonry. Gravity pushes rain downward, wind drives it sideways and water will naturally gravitate toward the smallest opening.
That’s where step flashing comes in.
What Step Flashing Is (And Why It Matters So Much)
Step flashing is a series of small, L-shaped metal pieces installed one shingle at a time along a roof-to-wall joint. Each piece overlaps the one below it, creating a layered system that directs water safely down and away from the wall.
When installed correctly, step flashing:
- Channels water onto the shingle surface
- Prevents water from running behind siding
- Expands and contracts without breaking seals
- Protects framing, insulation and drywall
When installed incorrectly, or not at all, it creates one of the most common sources of slow, hidden roof leaks.
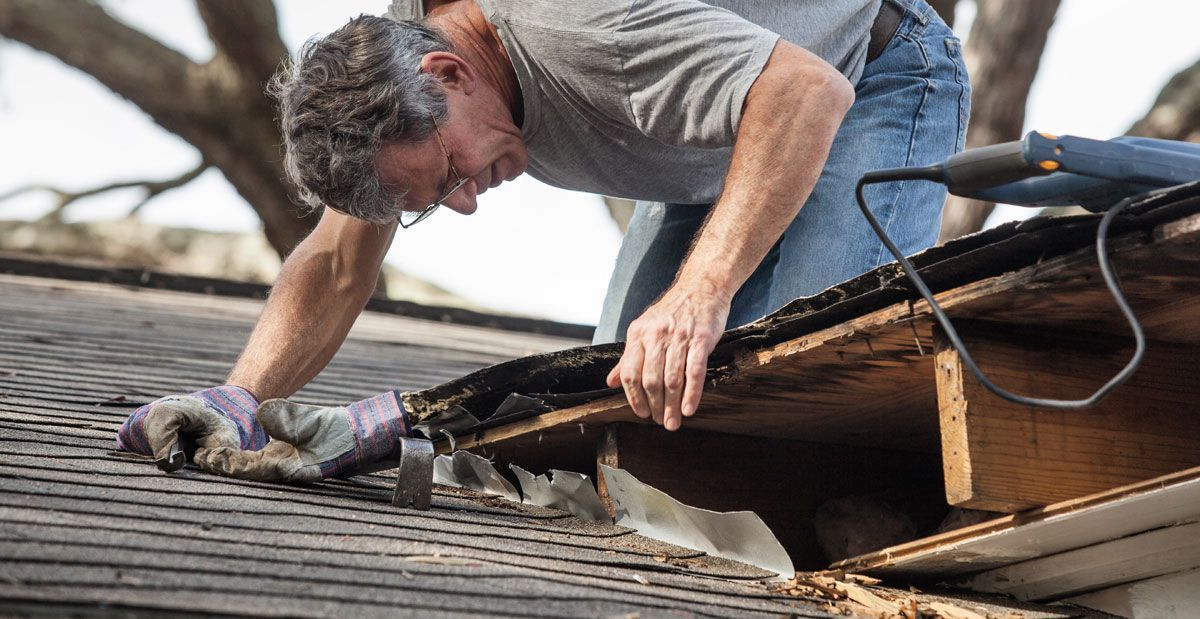
How Step Flashing Fails (And Creates “Small” Leaks)
Step flashing problems rarely cause immediate, dramatic leaks. Instead, they create slow intrusion points that worsen over time. Common causes of failure include:
Continuous Flashing Instead of Step Flashing
One of the biggest mistakes is using a single, continuous piece of metal instead of individual step flashing pieces. As the roof and wall expand and contract at different rates, that solid strip can crack or pull away, leaving gaps water can slip into.
Step Flashing Nailed Incorrectly
Flashing should never be nailed to the wall in a way that restricts movement. Improper fastening creates stress points that eventually open up.
Missing or Skipped Pieces
Even one missing piece of step flashing can allow water into the roof-to-wall joint, where it can travel unnoticed until damage appears inside.
Siding Installed Over Flashing Incorrectly
Sometimes the flashing is present, but improper siding installation interferes with drainage. If the siding is installed too low, nailed through the flashing, or incorrectly layered, water can be directed into the roof-to-wall joint instead of safely shedding onto the shingles.
Why These Leaks Are So Hard to Spot
Roof-to-wall leaks are deceptive. Water doesn’t always appear directly below the failure point. Instead, it may:
- Travel along framing
- Soak insulation before becoming inside
- Appear only during wind-driven rain events
- Dry out between storms, hiding the issue
Homeowners often assume the problem is a window, a gutter or even plumbing, while the real issue is higher up at the flashing.
By the time the leak becomes obvious, moisture may already have caused:
- Rotting wood
- Mold growth
- Damaged insulation
- Warped drywall
Why Caulking Is Not the Fix
One of the most common temporary “repairs” is adding caulk where the roof meets the wall. While this may stop water briefly, it doesn’t address the underlying issue.
Caulk:
- Cracks with temperature changes
- Fails under UV exposure
- Traps moisture instead of redirecting it
Proper step flashing works with gravity and movement. Sealants alone do not.
When to Be Concerned
You should have your roof inspected if you notice:
- Water stains near walls that meet the roof
- Peeling paint or bubbling drywall in corners
- Leaks that only happen during heavy or windy rain
- A history of patch repairs in the same area
These are classic signs of step flashing failure.
How Perkins Roofing Handles Roof-to-Wall Leaks in The Woodlands
Our free, in-depth roofing inspections include:
- Verifying proper step flashing installation
- Checking siding and counter-flashing integration
- Identifying hidden water paths
- Recommending targeted repairs, not unnecessary roof replacements
In many cases, correcting the flashing resolves the leak without major disruption to the rest of the roof.
Don’t Let a “Small Leak” Become a Big Roof Repair
If you suspect a leak near a wall, dormer or chimney, Perkins Roofing is here to help.
Contact us at (832) 702-0201 to schedule a free inspection and stop small leaks before they turn into major headaches.